HOW TO RECORD A QUALITY AUDIO FOR YOUR PODCAST – PODCAST RECORDING TIPS
In this
There is audio engineering saying: “if you ever want great quality audio, make sure you capture the source well”. In other words, make sure your recording is a quality one. One can achieve that by knowing basics of audio engineering (which we will gladly transfer to you in this post) so that your audio will shine and your editors/audio engineers could do their job better. Let us first start with the equipment.
AUDIO/RECORDING EQUIPMENT AND PLATFORMS
Everyone knows a good quality equipment makes a good recording however, what usually is not mentioned is that any equipment should be handled with certain knowledge in order to make the most of it. In this part, we will name and describe some equipment/platforms on which you may record your podcast. We will start with the most expensive and the best quality equipment.
Audio Interfaces and digital recorders
In the world of audio engineering a quality audio interface is a must. It serves as a link between the computer and a sound source/microphone, it improves the signal, the quality and reliability of the sound. Simply picture a box connected to a computer/laptop which has microphones plugged into. We will recommend several audio interfaces and digital recorders which you might use and list their estimated prices.
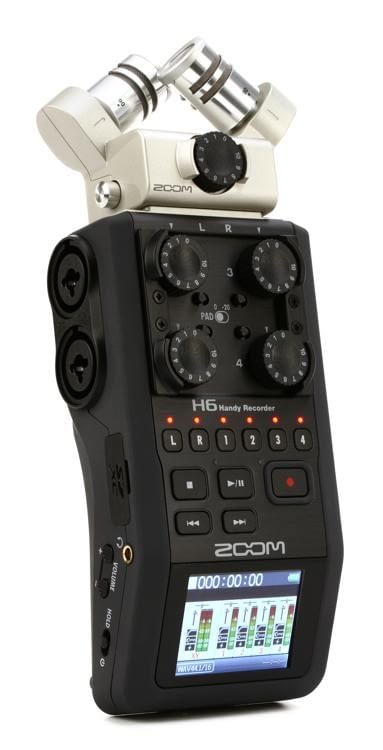
Zoom H6
This device can be used to record a host and a guest in person (up to 4 microphones and a stereo microphone). It is often used as a digital recorder for audio recording in the movie industry. It is unbelievable practical, can record a great sound and is affordable. To record with this device, you do not need a personal computer or a laptop, it records and stores audio files on SD card. By purchasing this device, you will get a stereo microphone which mounts directly on it. It is good for a start, but we would recommend purchasing microphones which would suit podcasting more. You will find more information on microphones later in the post.
Zoom H6 is a great value for money and we wholeheartedly recommend it. You can purchase it with stereo microphone included for approx. $300-$350.
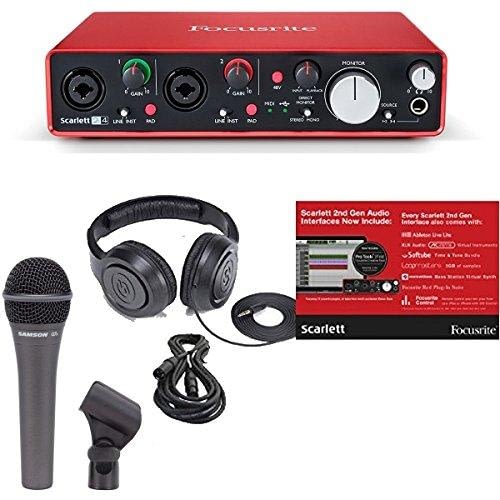
Focusrite Scarlett 2i4
This audio interface can be used to record with a guest in person. You can connect two microphones and it has a pretty decent audio converter for the value. The only downside to this device is that there is no room for more than two microphone inputs and that it requires a laptop/computer and a DAW (digital audio workstation). For those who don’t know what a DAW is – it is a software where you record your audio. For instance: LogicProX, ProTools, Garageband, Audacity, Adobe Audition, Ableton, Reason, Cubase, FL studio, etc.
You can purchase Focusrite Scarlett 2i4 in a bundle with microphone, headphones, case and cables for around $200.
Podcasting Platforms
There are other ways to record your podcast if you are not able to meet the guest in person. With online podcasting platforms, you will find this to be the most convenient way to record your podcast, but please note the quality won’t be at its best. You can still improve the quality by purchasing audio interface (like Focusrite Scarlett), however you will be improving only your audio, not your guest’s.
Podcasting platforms are convenient because they can record multiple tracks (microphones) at once and they act as a communication platform as well – like Skype. So imagine talking to someone over Skype and it records each microphone separately in a decent quality. We will name some of those platforms, provide a basic description and pricing below.
Squadcast
Squadcast is by far the best online podcast recording platform we’ve tested so far. The audio you record over this platform will be in a studio quality and our clients are most satisfied with their service. We’ve noticed no audio dropouts during the sessions. Squadcast enables multiple track recording options and gives you high quality .wav or .mp3 files to download. This is simply the platform to go with.
Squadcast gives you 7 days free trial. Basic subscription starts at $9 per month.
Zencastr
Not a bad platform for recording your podcast. It has decent audio quality, multiple track recording options, mp3 or wav files option, etc. However, this platform sometimes has some kind of issues with connection and guests/host can not hear each other, when recorded one track can go few seconds ahead of another, and similar.
Zencastr price ranges from free to $250/month.

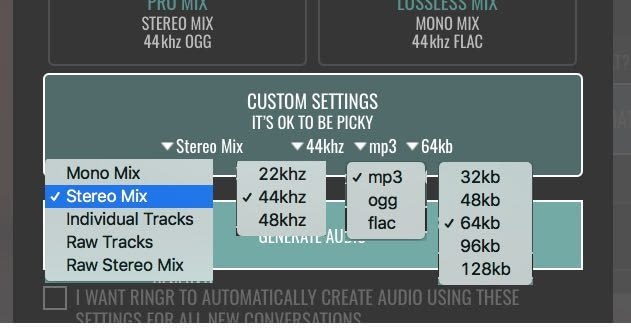
Ringr
We had opportunity to work with Ringr and truth to be told, we were disappointed. There were a lot of audio issues and connection issues so our clients decided to switch to Zencastr. However, it was a year ago and hopefully Ringr has fixed its server and platform problems. It is similar to Zencastr in almost every aspect.
Ringr monthly subscription starts from $8-$19/month.
Microphones
To get a perfect sound, a good microphone is a must. In this part, we will describe and suggest several affordable microphones which you can purchase and use for podcast recording. We will start with the most expensive.
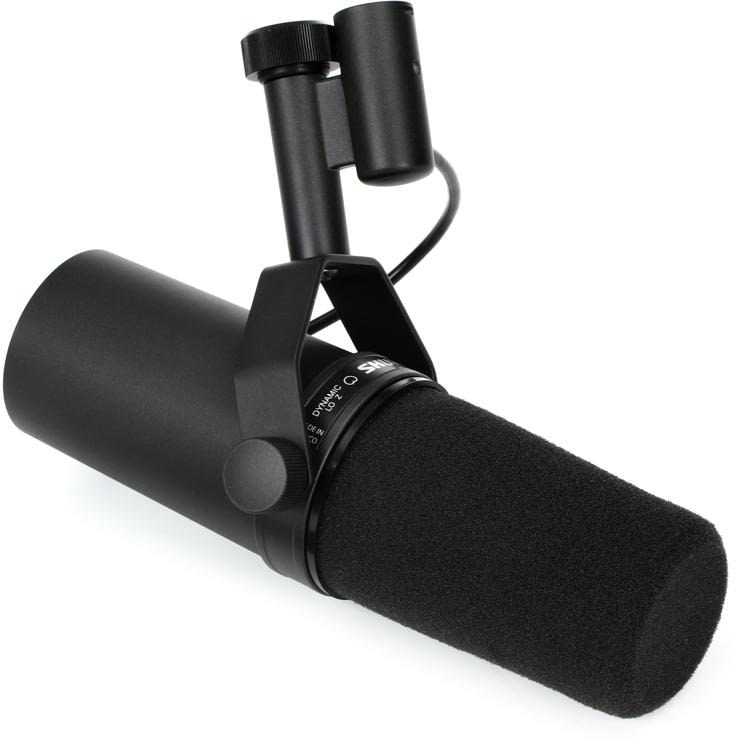
Shure SM7B
This microphone is an industry standard for broadcasting, podcasting or recording and it can capture smooth, warm vocal which connects speaker to the listener. Podcasting giants like Joe Rogan use this microphone. Shure SM7B, a very expensive microphone, but it is a great choice for podcaster who care about nothing but the quality of their recordings. Please note you will need a digital audio interface for this microphone to work properly.
Standard price of this microphone is $399.
Rode NT1a
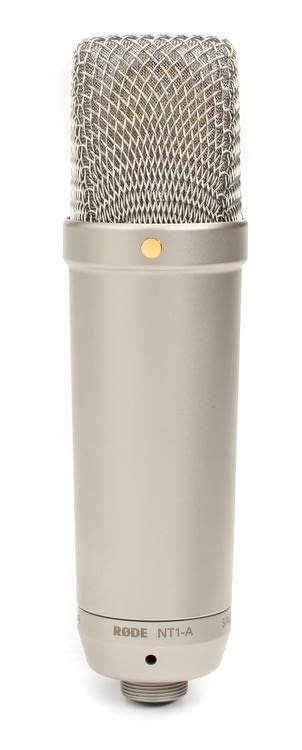
This microphone is probably the best value for the money. It has amazing frequency response, its quality is great and you will get high quality podcast recording with it. Rode NT1a is a condenser cardioid microphone. Condenser means it needs phantom power (48V) to work – can be turned on on your digital audio interface such as Focusrite Scarlett. Cardioid means its response is directional and it will not pick noises coming from the back of it.
You can purchase Rode NT1a over amazon for $150-$200. We consider this a best investment. Please note it will not work without a proper audio interface.
Shure SM58
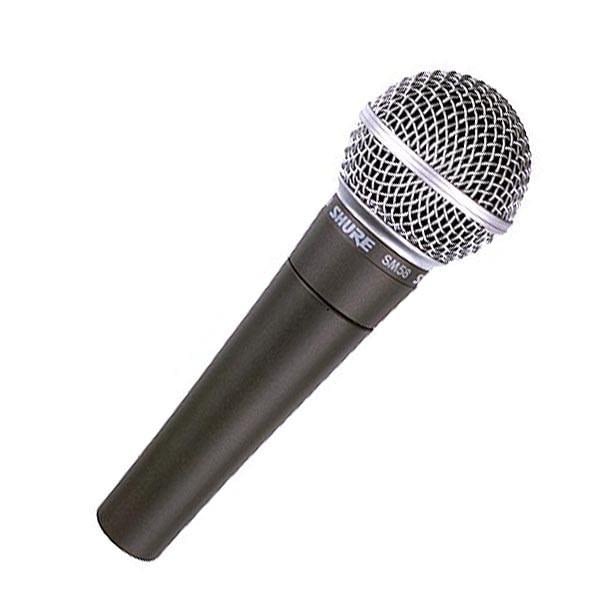
This microphone is an industry standard microphone for live vocal performances. It is a dynamic microphone and it doesn’t need phantom power (48V) to work. This microphone is impact resistant and its durability is prolonged when damaged unlike condenser microphones. Frequency response is decent and it is a good option for less money.
You can purchase Shure SM58 for $80-$150.
USB Microphones
For those who aren’t looking for great quality and are not ready to invest a bit more money to achieve it, there’s always an option to purchase USB Microphone. USB microphones are powered through a computer/laptop and since they are not connected through industry standard audio connectors like XLR, their signals will be lower and audio quality in general will be worse. However, USB microphones are still better than using a headset or integrated laptop microphones.
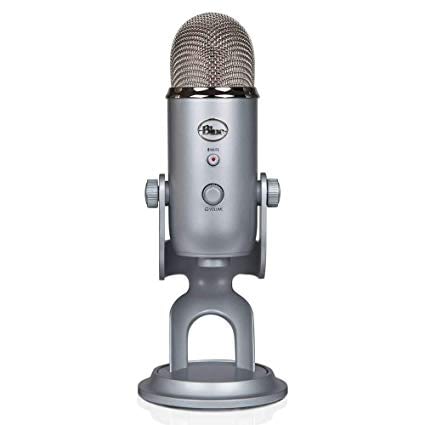
Blue Yeti
This microphone is probably the best USB microphone on the market. It is still nowhere close to the ones above, but can provide a decent quality recording considering its price and connection type. One of the best features for this microphone is its polar patterns. It can be cardioid, bidirectional, omnidirectional and stereo. For instance, if there are two hosts and they both use the same microphone, they would put it on bidirectional polar pattern and sit one across another. The microphone will record both sides. If you’re unable to purchase a decent digital audio interface and a professional microphone, we recommend this one.
You can purchase Blue Yeti for approx. $100.
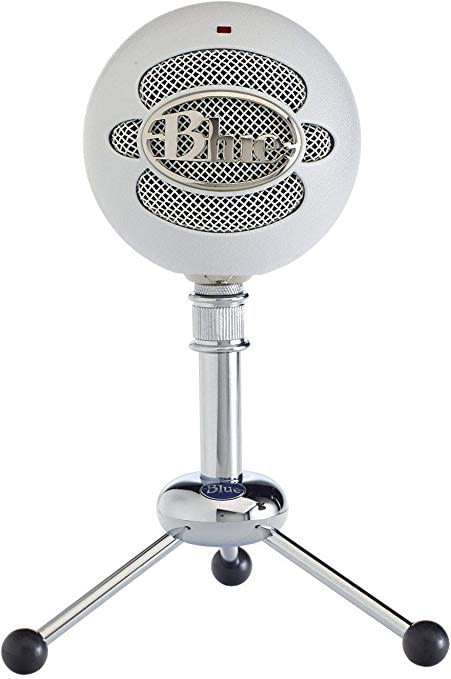
Blue Snowball
Yeti’s little brother. Worse frequency response, less polar patterns, worse quality in general, but cheaper. This is probably the cheapest option if you’re considering to improve your audio from integrated microphone or headset.
You can purchase Blue Snowball for approx. $50.
Gadgets
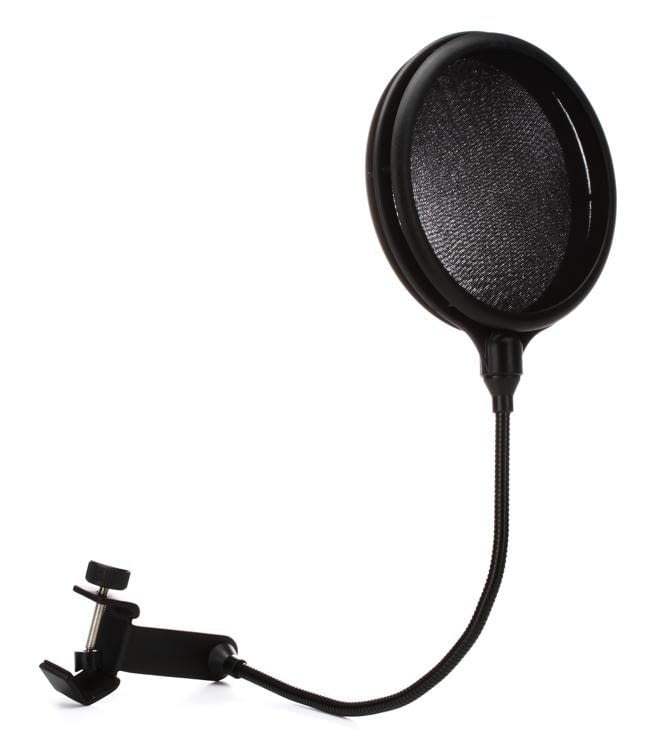
Some gadgets can improve the quality of your recording. For instance a pop filter is always a good way to prevent plosives from being recorded. Although plosives can be fixed in post production with a specialized software, it is always better to make a decent recording so the audio editors would have less work and eventually charge you less.
You can buy a decent pop filter through Amazon for approx. $10.
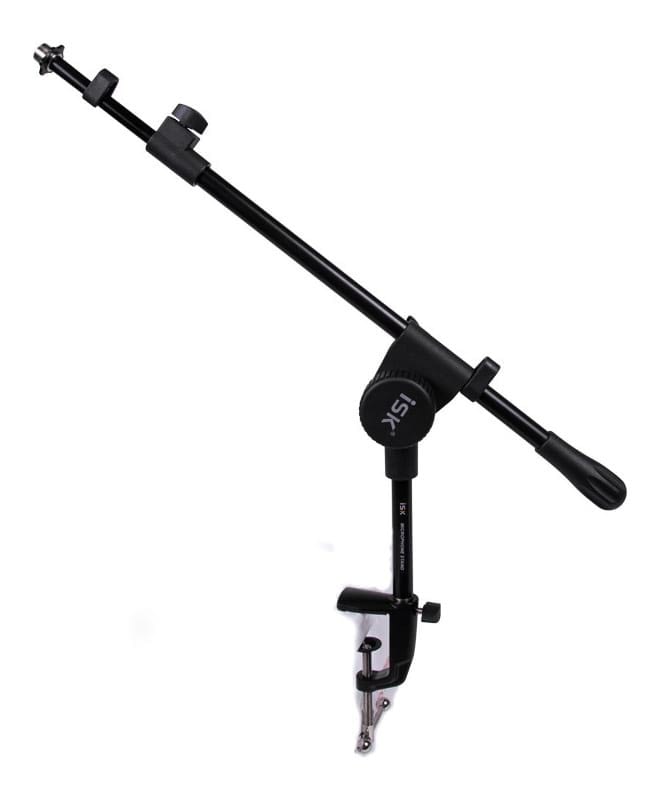
Microphone stands are a must unless the microphone you’re using is already mounted. Table microphone stands can be purchased for $10-$20 and they will make your life easier. Some stands already have pop filter mounted.
OUR RECOMMENDATION
In case you’re planning to invest a bit more money, you will get a great audio quality and it will eventually pay off through listeners and sponsors. Running a successful podcasting business is not an easy task and most people don’t know how to achieve it, but a good quality audio is a great start.
A great balance of quality and money would be digital audio interface like Focusrite Scarlett and Rode NT1a microphone. This option would require:
Computer/laptop,
DAW (free software like garage band or audition),
Digital audio interface (Focusrite Scarlett 4i2 or 2i2 – $150)
Microphone (Rode NT1a – $150)
Podcasting platform like Zencastr (if you’re not meeting your guests in person)
Pop filter and microphone stand (approx. $20)
Hire a professsional to edit and enhance your podcast
As listed above, you can have great quality audio for only $320. We believe this is the best investment and audio quality is the first thing your listeners will hear. It can sometime determine whether the listeners will continue listening or will they skip your podcast and start listening to someone else.
GENERAL GUIDES AND CONCLUSION
There are few, but important general guides. Please follow these guides to achieve the best recording possible.
Before you start recording, please run a test recording and set up your levels.
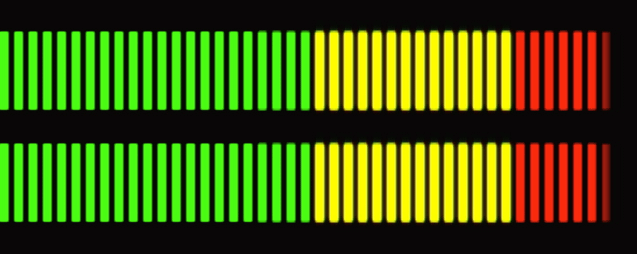
When recording, peak level should be from -18db to -7db. Most DAW have color indicators for levels. Please keep the recording in green color.
Once you started recording the podcast do not reset and/or tweak the levels.
Do not move the position of your microphone and when speaking try to talk directly into it.
Try not to make loud background noises when speaking.
Always go for the best quality files. Keep the sample rate at 44.1kHz, 24-bit if possible.
If recording over podcasting platform, please choose individual tracks, 44.1kHz, Wav file, 24 bit.
Have fun and improve your quality with each episode.
Thank you for reading this post and visit our website to have an insight in our services. We hope we’ve helped with some general guidelines and that your audio will improve after reading this post.
Stay tuned.
Хорошая статья
Thank you!
Nice post. I was checking constantly this blog and I am impressed!
Extremely helpful info particularly the last part 🙂
I care for such info much. I was looking for this certain information for a long time.
Thank you and best of luck.
Thank you very much, Naomi. I’m glad our blog post was helpful to achieve better quality audio for your podcast. Feel free to share the blog with your colleagues and fellow podcasters. If there’s anything else we can help you with, don’t hesitate to contact us 🙂
Remarkable things here. I am very happy to peer your post.
Thank you so much and I am looking ahead to touch you. Will you kindly drop me
a e-mail?
Thank you, Mikki. I’m delighted our blog post has helped you. You can hire our services through our official website: https://www.audiotch.com
My brother recommended I might like this blog. He was totally right.
This post actually made my day. You can not imagine simply how much
time I had spent for this information! Thanks!
Thank you, Francine. I’m very happy to see our blog post has been helpful. If there’s anything else we can do for you, don’t hesitate to contact us!
Greetings! Very helpful advice within this article!
It is the little changes that produce the most important changes.
Thanks for sharing!
Hi Helaine,
I’m happy this blog post was helpful for you to achieve better sound. You’re most welcome to contact us if you need any further help or if you require any of our services.
Very intersting information!Perfect jut what
I was serarching for!